Explaindio Review: I Tested It
- Mr Grand
- Jul 5, 2025
- 4 min read

Updated: Jul 10, 2025

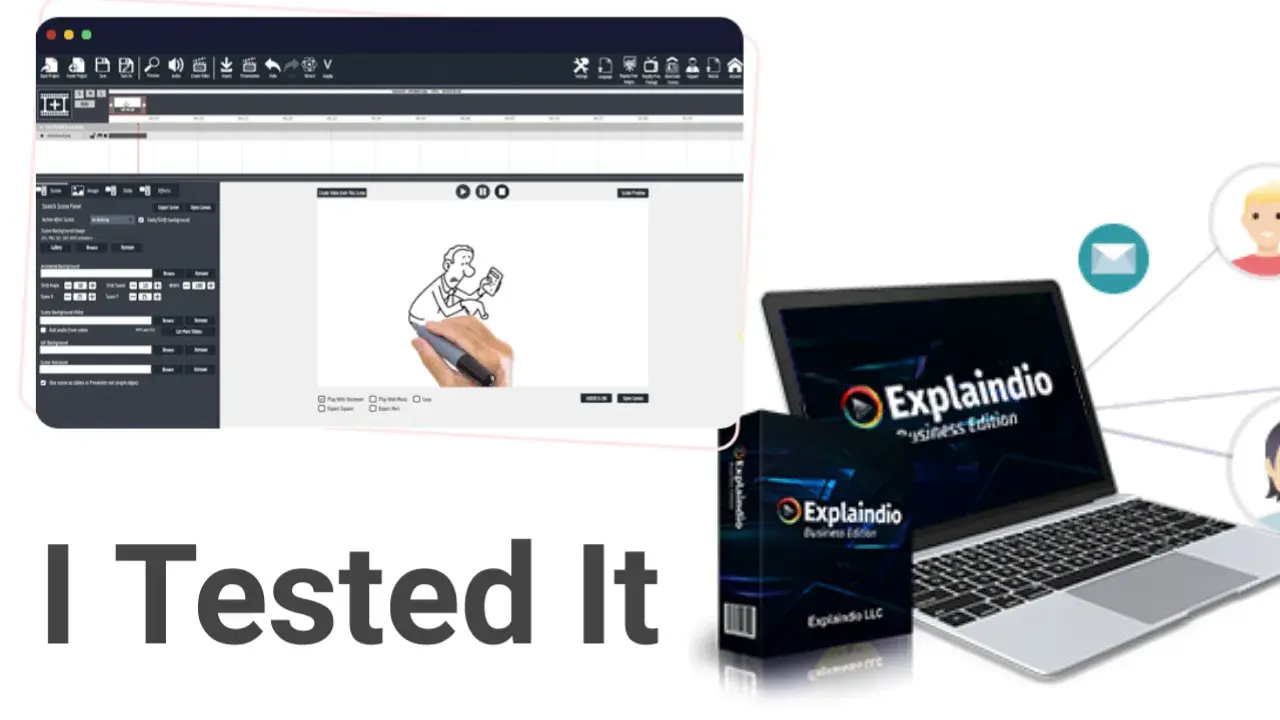
What is Explaindio?
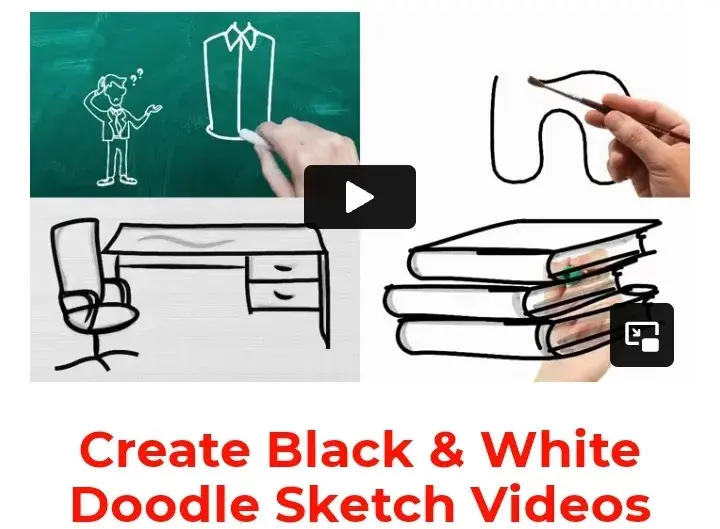
Imagine having the best software for creating animated videos with no effort — that’s exactly what Explaindio feels like in your hands.

It’s not just any video creation tool; it lets you seamlessly blend whiteboard animations, 3D elements, and dynamic visuals into captivating stories. What really caught my attention was its intuitive drag-and-drop interface that makes even complex animations feel surprisingly manageable.
Key Features That Make It Stand Out:
Create professional-grade explainer videos and advertisements that grab attention
Seamlessly mix different animation styles within a single project (a feature I found particularly impressive)
Access an extensive media library or unleash your creativity with custom elements
Export your masterpiece in various formats to suit any platform
OVERALL RATING: 3.5 out of 5 Platform: Windows/macOS Price: Starting at $59+ per year
Is It Free?

Let’s address the elephant in the room — no, Explaindio isn’t free, and there isn’t a free trial option (which, I’ll admit, was initially disappointing). However, after diving deep into its features, I understand why they’ve structured their pricing this way. They offer two main license types:
Personal License
Business License (includes commercial rights to sell videos under your brand)
The main difference? Just $10 annually and those valuable resell rights. Here’s where it gets interesting — you’re essentially getting a full year of access with your purchase. After 12 months, you’ll need to renew. While I initially raised an eyebrow at the annual-only commitment, when I compared it to similar tools in the market, the value proposition became clear.
How Do I Download It?
The download process is a bit like going on a treasure hunt — there are several steps, but I’ll walk you through my personal experience:
First, you’ll need to make your purchase (no way around this!)
Watch for an email containing your authentication details
Head to https://account.explaindio.com/ (a slightly hidden gem that I wish was more prominently displayed on their main site)
Navigate through the member portal to your download
Here’s where things got interesting during my installation:
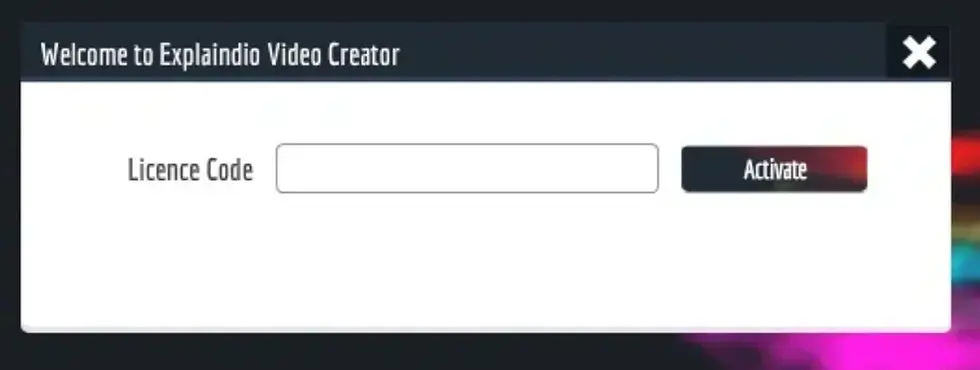
The download comes as a ZIP file, and the installation process feels a bit old-school compared to modern DMG installations. You’ll click through six steps — yes, I counted! After installation, I encountered something that made me chuckle — the software immediately asked for an update. Slightly confusing, right? But wait for it…

Within 30 seconds, the update was complete, and I was facing the login screen. Pro tip: Keep that license key from your confirmation email handy — you’ll need it!
Is It Safe?
Having spent countless hours testing software, safety was naturally one of my primary concerns. The good news? Explaindio passes the security check with flying colors. Here’s why I feel confident recommending it:
Operating since 2014 with a solid track record
Clean bill of health from Norton Safe Web
Transparent installation process
Limited system access (only what’s needed for file import/export)
How Does It Compare to VideoScribe?
After extensive testing of both platforms, I created a detailed comparison. Here’s the thing — choosing between these two isn’t about which one is “better” but rather which one aligns with your specific needs.

Think of it this way: Explaindio is like a Swiss Army knife — it does everything, including 3D animations, which VideoScribe doesn’t offer. But sometimes, you just need a really good pair of scissors, and that’s where VideoScribe shines.
A Detailed Review of Explaindio
Over several days of intense testing, tutorial-watching, and quite a bit of trial and error, I’ve developed a comprehensive understanding of what Explaindio can (and can’t) do. Let me take you through my journey…
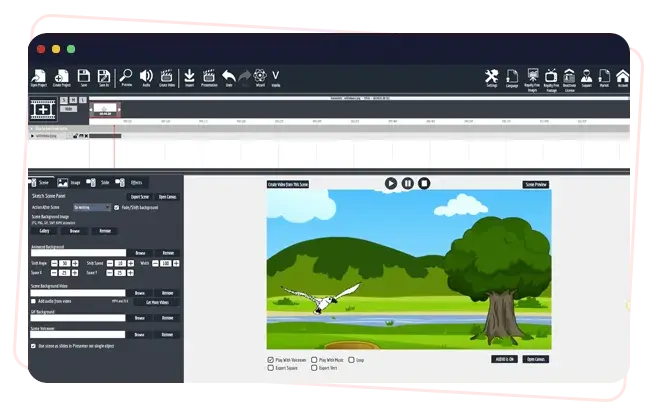
Interface, Timeline, & Scenes
When I first opened Explaindio, I’ll be honest — I felt a bit overwhelmed. The interface presents you with about 20 buttons along the top menu bar, a timeline below, and a canvas/editing pad at the bottom. It’s like walking into a professional recording studio for the first time — intimidating but exciting.
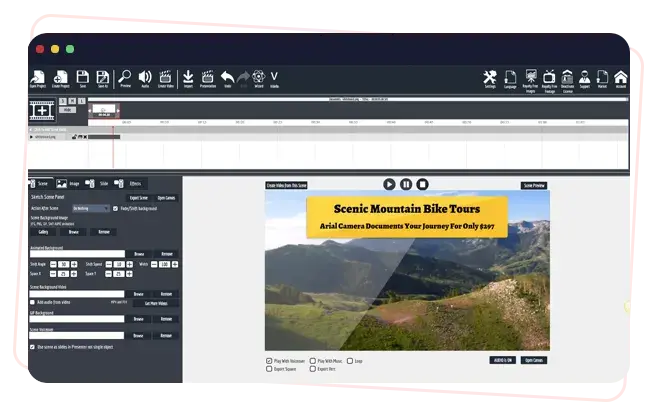
Interface Deep Dive: Getting Started with Your First Scene
Let me walk you through creating your first scene — a moment I remember vividly from my own journey with Explaindio. Look for the film strip icon with a plus sign in the center (it’s quite intuitive once you spot it!). Clicking this opens up two options: including a scene from your collection or creating a new slide.
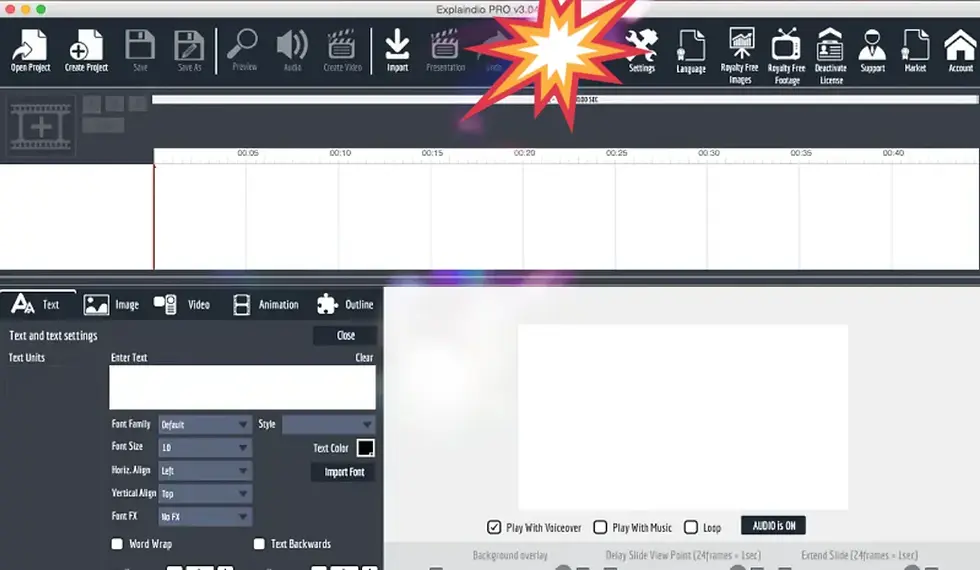
Here’s a pro tip I learned the hard way: stick with the first choice initially, as the second option only works with previously saved formats.

The magic happens in the editor’s bottom half, which transforms to reveal your scene editing workspace. I was pleasantly surprised by the array of media format buttons neatly arranged along the bottom — it’s like having a digital media toolbox at your fingertips.


Comments